PANELFISA drastically reduced the percentage of rejects – 5 VICIVISION measuring machines
A total of 5 VICIVISION machines give direct support to production. We have reduced the measurement time between 30 and 50 seconds depending on the part, now we give 100% traceability to the process thanks to the manufacturing orders and the VICIVISION measurements.
Precision mechanics for people: UTILITA’ chooses Vicivision as a partner over time.
In order to diversify its production, Utilità has focused on niche items, characterized by very noble materials: gold, platinum, palladium, titanium and iridium.
And it also provides for extremely complex details.
From aviation to aeronautics, from dental implantology, orthopedic to maxillofacial. These are the main sectors.
«We found the after-sale support that other brands just can’t match” | R.I.E S.r.l.
RIE was founded in 1980 by two entrepreneurs and a handful of operators..
The measuring machine prints reports indicating the machine’s process capability index.
This brand was our number one choice because Vici guarantees assistance and consultancy that other brands just can’t match.
Zanetti premium gears: «We measure the incoming material with Vicivision»
Before purchasing a Vici machine, we had to use a variety of different machines, like a tridimensional, a profilometer or a roundness tester. Today, once we have created the program, the machine quickly provides all the results necessary.
Basically, we have to check material sent by our suppliers.
Once we have created the program with the VICIVISION machine, it’s a matter of seconds.
High quality standards. “We inspect every single eccentric shaft” | Interpump Group
Interpump Group is the world’s largest producer of high-pressure piston pumps and leader in the hydraulics market.
The group has 8,000 employees and boasts a turnover of more than 1.3 billion Euro.
The piston pumps we produce are fruit of careful systematic experimentation and research in design.
Pioneering technology, highly automated production processes and elevated quality standards distinguish our products, making them authentic masterpieces of technology.
A reference point in the mechanical processing – Interview with Tirabassi & Vezzali
Over the years we have invested in lathes that can turn parts up to 1,200mm long, and with machines like these it was obligatory to invest in testing systems for the parts.
The main benefits of this machine are speed – inspections are much faster than previous manual systems – and an objective inspection of all the details, regardless of who is actually checking the part.
This machine is essential for our work because all the operators know that they can trust the results.
“The move from attribute gauging to optical measurement has been a complete success” | H&T Presspart
Our customers expect components to be dimensionally correct, they have very tight specifications. | Presspart and Vicivision UK
H&T Presspart is a global manufacturer of aluminium and stainless steel metered-dose inhaler canisters, acting as a key partner to the world’s largest pharmaceutical companies working mainly in the respiratory drug delivery market. To help both meet these client expectations and deliver efficiencies within its manufacturing processes, H&T Presspart identified optical measurement as a technology critical to its future aspirations.
«We never compromise on technology, this is the perfect tool for turned parts» EZU experience
In 2016 we delivered 100 million components for diesel production and in 2017 we delivered another 250 million components for the automatic transmission industry.
The Vicivision system ensures that data can be collected reliably.
Data from the measuring machine is transmitted to the production machine.
All processes are regulated autonomously, independent of human interaction to eliminate errors.
Speed, accuracy, repeatability: Optical measurement revolutionises production | Benham Precision
As a leading global supplier of complex components and sub-assemblies to the aerospace and defence sectors over many years, Benham Precision Engineering knows the meaning of quality better than most.
That dedication to being the best of the best has been a driving force behind the business’s continued success, and has played a major role in the decision to invest in the inspection side of its operations in recent years.
Today it is the proud owner of three optical, non-contact measurement systems supplied by VICIVISION which, according to Managing Director Joe Benham, have taken Benham’s metrology capabilities to a whole new level.
“A must in our industry” How Ondrives saved hours of time by investing in VICIVISION.
VICIVISION UK visited Ondrives, which has origins in the precision gear industry going back more than 80 years. With an outstanding pedigree of knowledge, expertise and experience the company quickly identified VICIVISION UK as the obvious choice for best in class optical measurement machine.
Opting for a model from the flagship TECHNO rang, the M309 ensures reliability in measuring cylindrical parts is second to none, ticking all the boxes for achieving lean manufacturing.
Making immediate inspection and data capture available next to multiple machining centres, to more than one operator, eliminates bottlenecks and leads to a reduction in downtime.
.
Achieving production confidence through measurement | Technoset Ltd
Confidence is a critical and often-cited concept in manufacturing. As businesses strive to prosper in a crowded and highly competitive marketplace, they need certainty that their processes will consistently and efficiently deliver right-first-time parts, so that order books remain full and customers keep coming back. Technoset knows that as well as anyone. For more than 40 years, the Rugby-based company has specialised in creating highly complex, precision machined components on its multi-axis turning and milling centres, using both common and exotic metals. And thanks to VICIVISION UK, they were able to achieve this through high-precision non-contact shaft measurement machines. Offering manufacturers advanced solutions for turned components, with machines that deliver rapid measurement through dual video and light projection technology.
“From a single VICIVISION we can check parts produced on 17 grinding machines” Bavieri company
For over 50 years, Bavieri Alfeo S.r.l. has specialised in contract machining for grinding, roll forming and lapping.
“I would highly recommend a VICIVISION machine because it saves a lot of time and the machine is accurate.
We use it on all our machines».
Leaders in cold forming: Defremm keeps investing in quality and chooses VICIVISION.
Interview Mauro Molinari, Plant Director R&D Manager.
“Defremm is a company from Lecco, which specializes in the production of small parts using cold formed wire.
For the past 10 years, our company has been experiencing a major digitalization overhaul.”
“All the orders arrive at the quality station from our quality lab and we carry out the necessary inspections.”

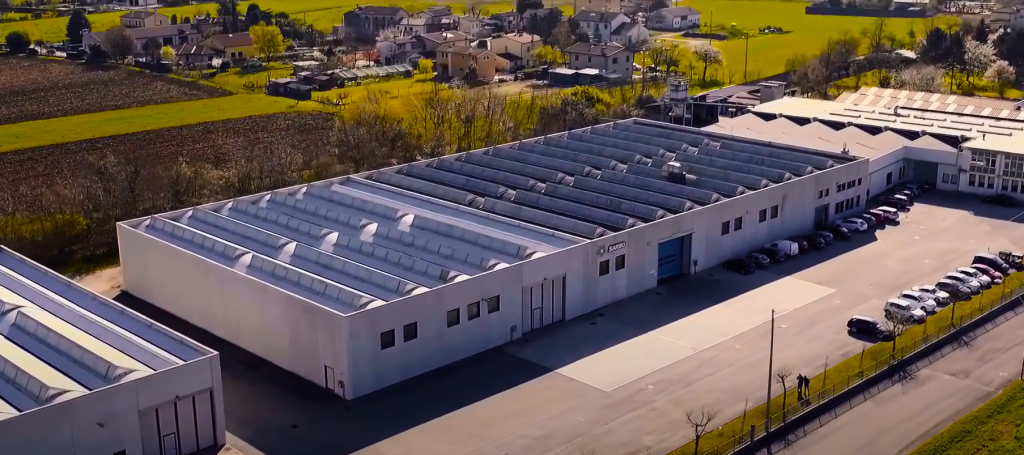
Interview with Sarbo Minuterie Metalliche: “How we increased productivity and drastically reduced inspection time.”
Cristian Perinel: “From the onset, our staff training is based on a fundamental principle: producing quality.”
“Our inspection equipment in the field of dimensional measuring represents the best technology on today’s market. With VICIVISION optical machines we have solved two fundamental issues: controlling tool wear and inspecting outgoing parts.”
DP engineering eliminated bottlenecks and reduced down time with the help of a VICIVISION measuring machine.
CUSTOMERS FEELING THE BENEFIT AS OPTICAL MEASUREMENT SLASHES FIRM’S DOWN TIME.
Fast, non-contact, non-destructive measurement on an all-in-one system is done at the touch of a button, with fast and efficient batch changing contributing to greater throughput.
With increased productivity comes increased capacity, allowing businesses to take on more work with the confidence that demand and quality standards can be met.
Trust Precision Engineering is a business on the up.
Trust Precision Engineering currently has two VICIVISION M304 Techno machines, which provide benchmark reliability in measuring cylindrical parts and enable fast and efficient batch changing.
Their design makes immediate inspection available next to multiple machining centres, to more than one operator, bringing about a reduction in down time as there is no need to leave the production environment.
Nick Street: “It’s one less thing for me to worry about and gives me complete confidence in what we’re doing.”
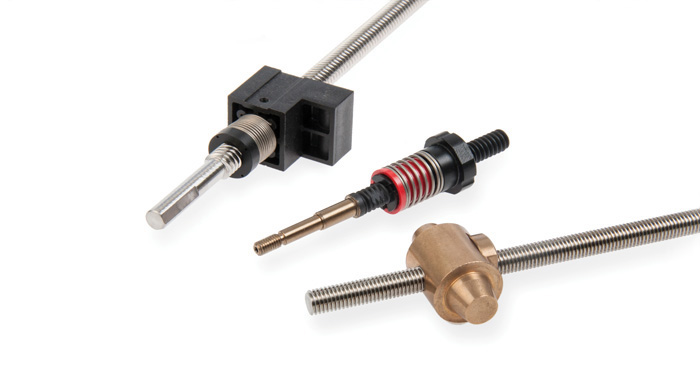
Reliance Invest in Lead Screw Inspection Technology.
As a supplier of high precision lead screws to highly regulated medical and lab automation environments, Reliance’s customers require consistently reliable, quality assured products. As part of their continuous improvement strategy, Reliance have invested in an automated lead screw inspection machine at their production facility in Ireland to help ensure the necessary quality levels are delivered.


Making quality control efficient means being more competitive.
The testimonial of UMBRAGROUP S.p.A.
UMBRAGROUP S.p.A. is a global leader in the manufacturing of ball screws within the aeronautical sector.
It was necessary to have a machine that could operate in the shop floor and that would cut control times. With the introduction of the VICIVISION MTL directly in the shop floor, the hours required for testing were drastically reduced.
Quality control of bar turned parts: Vi-Da
The production of Vi-Da Srl (Darzo, TN) includes all the parts that can be obtained from turning processing: spacers, pins, fittings, pulleys, etc…
Since its establishment in the 1960s, the company decided to focus on the production of special parts characterized by a high level of quality, based on the requests and needs of its clients.
The optical measuring machine VICIVISION MTL is a complete product that is able to execute all the measurements on cylindrical components…
This machine is the ideal instrument for those who, just like Vi-Da, produce special components.

MTL for automated inspection of components: The Vilardell Purtí Group.
Vilardell Purtí Group Industrial Division is a worldwide leading company in the manufacture of cutting-off parts and specialized in items of high technical complexity as well as high added value requiring a high level of precision.
The Vilardell Purtí has acquired a VICIVISION machine for production and the automated inspection of components that are manufactured primarily for the automotive sector.
MTL is an optical measuring machine for high-performance revolving parts. In addition to inspection, Vilardell Purtí also uses the VICI system to facilitate parts measurement for production quality verification and adjustment of production machines.

